Clojure Stack TemplatesClojure Stack Templates

Quickstart

Let's get started with your first project using Clojure Stack Lite!

Create Your Application

Generate a New Project

Replace myproject with your desired project name and run the following command using Clojure CLI:

clojure -Ttools install-latest :lib io.github.seancorfield/deps-new :as new && \
clojure -Sdeps '{:override-deps {org.clojure/clojure {:mvn/version "1.12.0"}}}' \
    -Tnew create :template io.github.abogoyavlensky/clojure-stack-lite :name myproject

If you already have Clojure CLI with Clojure 1.12.x and the deps-new tool installed, you can simply run:

clojure -Tnew create :template io.github.abogoyavlensky/clojure-stack-lite :name myproject

Start Development Environment

mise is a convenient tool for managing system dependencies in isolated environments for different projects. If you prefer, you can install all required tools manually by consulting the .mise.toml file for specific versions.

cd myproject
mise trust && mise install
bb clj-repl
user=> (reset)

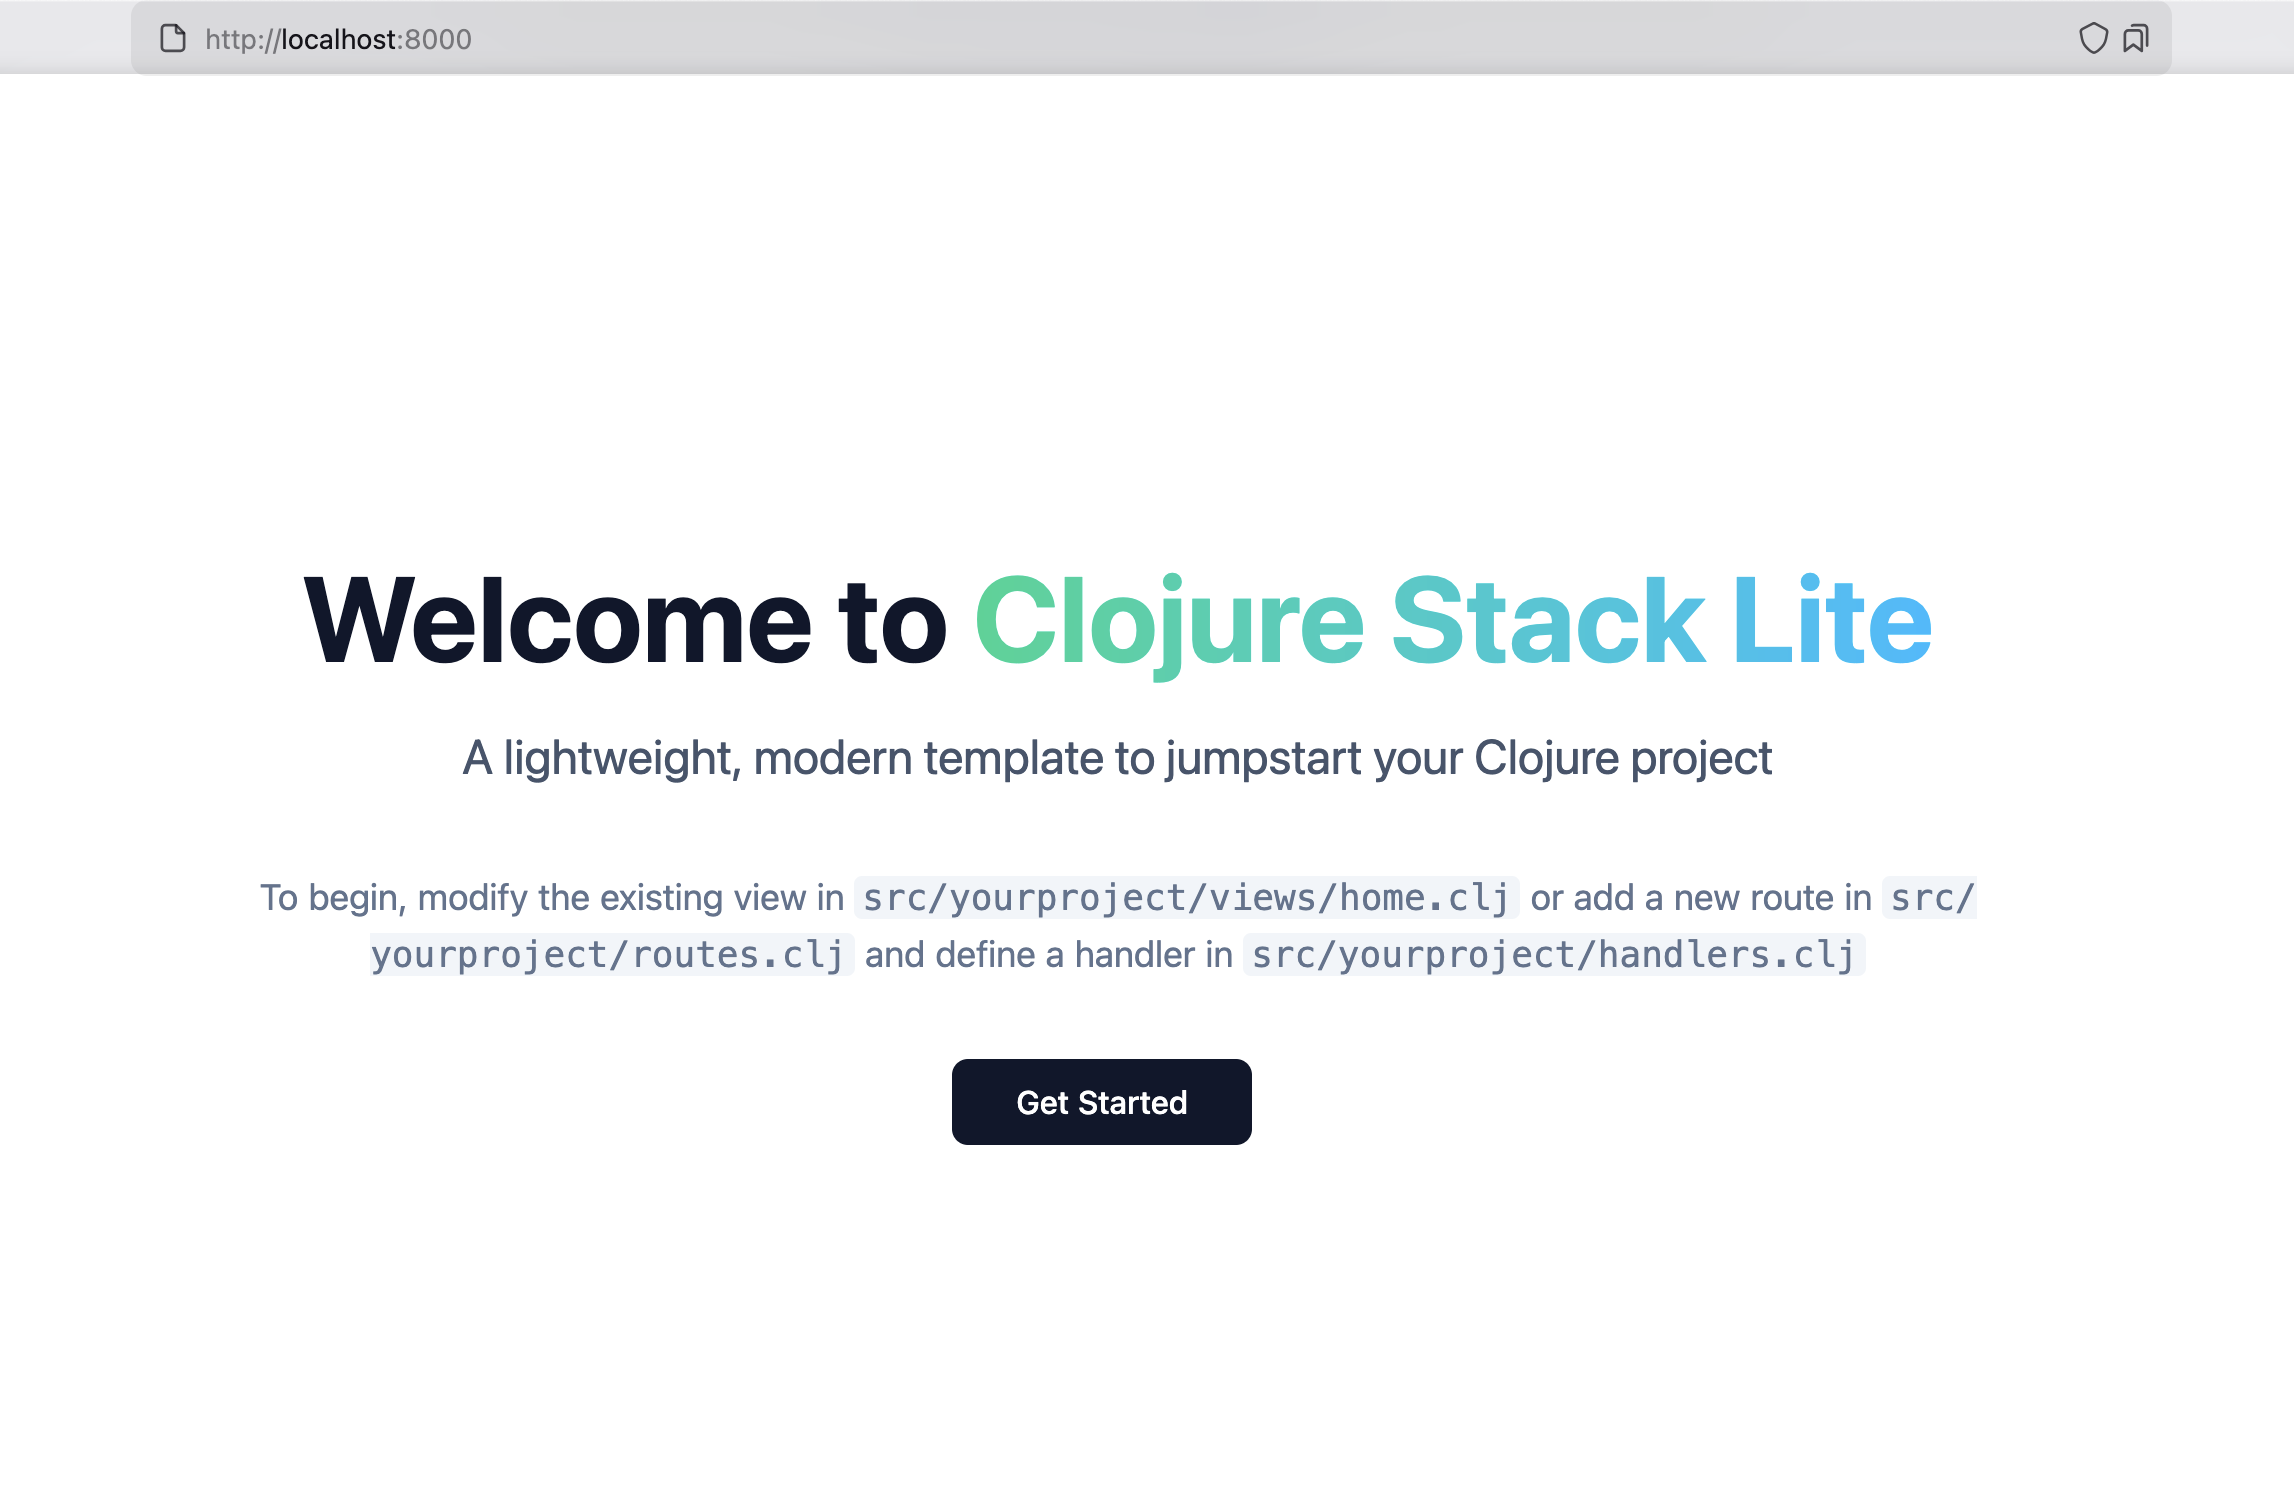
Your server should now be running and available at http://localhost:8000.

Clojure Stack Lite starter page

Update Placeholders

Before deploying to production, you should update the following placeholders in your project:

  • The LABEL in Dockerfile to reference your project's repository for correct image attribution
  • The domain in the id field of resources/public/manifest.json to properly configure your web app as a PWA

Project Structure

Your newly generated project will have the following structure:

├── .clj-kondo/            # Clojure linting configuration
├── .github/               # GitHub Actions workflows and configurations
├── .kamal/                # Kamal deployment configuration (only used if you use Kamal)
├── db/                    # Empty database directory for database files (only used with SQLite)
├── dev/                   # Development configuration directory
│   └── user.clj           # User-specific development configuration
├── resources/             # Static resources and configuration files
│   ├── public/            # Public assets (CSS, JS, images)
│   ├── migrations/        # Database migration files
│   ├── config.edn         # Main configuration file for the application
│   ├── config.dev.edn     # Development-specific configuration
│   └── logback.xml        # Logging configuration file
├── src/                   # Source code directory
│   └── {{name}}           # Main namespace directory
│       ├── core.clj       # Application entry point
│       ├── db.clj         # Database system component and main operations
│       ├── handlers.clj   # HTTP request handlers
│       ├── routes.clj     # Route definitions
│       ├── server.clj     # Server system component
│       └── views.clj      # HTML templates and components with Hiccup
├── test/                  # Test files directory
│   └── {{name}}           # Test namespace directory
│       ├── home_test.clj  # Example test for home page
│       └── test_utils.clj # Test utilities
├── .cljfmt.edn            # Formatting configuration
├── .gitignore             # Git ignore rules
├── .mise.toml             # mise-en-place configuration with system dependencies
├── bb.edn                 # Babashka tasks configuration for managing application
├── deps.edn               # Clojure dependencies and aliases
├── Dockerfile             # Dockerfile for building the application image
├── LICENSE                # License file, AGPLv3 by default, for motivation check: https://plausible.io/blog/open-source-licenses
└── README.md              # Project documentation

Next Steps

Now that you've generated your new project, you can either start building a simple application right away or learn more about different aspects of your project. Choose whichever path you prefer!

On this page